
Not only can a leaking shower be inconvenient, but it may also result in serious water damage, raise your energy costs, and foster the spread of mildew. You are not alone if this is a problem for you.
Leaks in bathroom showers occur in many homes at some point. You can save time, money, and stress by figuring out the causes and how to fix them. This article will examine the typical causes of a leaking shower and offer workable fixes for the issue.
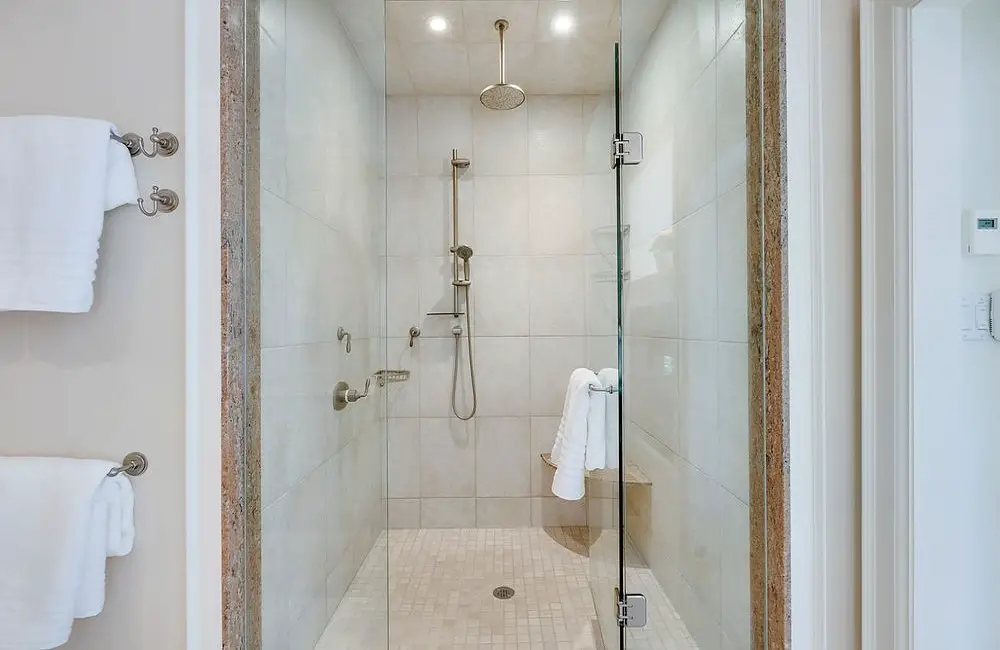
Common Causes of a Leaking Shower
1. Worn-Out Showerhead or Faucet
A leaking showerhead or faucet is frequently caused by a worn-out showerhead or faucet. Leaks may occur from the components in these fixtures deteriorating over time.
Signs and Symptoms:
- Continuous dripping even when the shower is off.
- Water pooling around the faucet area.
Fix:
- Replace the Washer: Most showerheads and faucets have a rubber washer that can wear out. Replacing this washer can often stop the leak.
- Install a New Showerhead or Faucet: If the entire fixture is old, it might be time to replace it. Modern fixtures are more efficient and can save water.
2. Faulty Shower Valve
The shower valve regulates the water’s flow and temperature. If it is malfunctioning, it may leak behind the wall, causing more significant harm if left unattended.
Signs and Symptoms:
- Water dripping from the handle.
- Difficulty in adjusting the water temperature.
Fix:
- Inspect and Replace the Valve Cartridge: Most modern showers have a replaceable cartridge. Turn off the water supply, remove the old cartridge, and install a new one.
- Call a Professional: If you’re not comfortable handling plumbing repairs, it’s best to call a professional to avoid further damage.
3. Cracked or Missing Grout and Caulk
The joints in a shower between tiles and other surfaces are sealed using grout and caulk. These materials may break down or crack over time, letting water soak through.
Signs and Symptoms:
- Visible cracks in the grout lines.
- Mold or mildew growth around the tiles.
Fix:
- Reapply Caulk: Remove the old, damaged caulk using a caulk remover tool. Clean the area thoroughly and apply a new bead of waterproof caulk.
- Regrout the Tiles: Use a grout saw to remove the old grout, then apply new grout to the joints. Seal the grout to prevent future issues.
4. Leaky Shower Pan
The part of the shower that gathers water and sends it down the drain is called the shower pan. Leaks may result from a damaged piece or from installation done incorrectly.
Signs and Symptoms:
- Water stains on the ceiling below the shower.
- Persistent dampness or puddles around the shower area.
Fix:
- Inspect the Shower Pan: Look for visible cracks or damage. If the shower pan is damaged, it will need to be replaced.
- Ensure Proper Installation: If the shower pan was improperly installed, it might need to be reinstalled correctly. This is usually a job for a professional.
5. Damaged Shower Door Seals
Water leaks are stopped by the seals surrounding the shower door. Water can seep out and cause harm if these seals are worn out or damaged.
Signs and Symptoms:
- Water leaking from the edges of the shower door.
- Visible damage to the seals or gaskets.
Fix:
- Replace the Seals: Purchase new seals that match your shower door and replace the old ones. Make sure to clean the area thoroughly before installing the new seals.
- Adjust the Shower Door: Sometimes, the door might need to be adjusted to ensure a proper seal. Check for alignment issues and adjust as needed.
Preventive Measures to Avoid Future Leaks
It is usually preferable to prevent shower leaks than to deal with them after they happen. The following are some precautions you can take:
1. Regular Maintenance
Perform regular maintenance on your shower fixtures to ensure they are in good working condition. Check for any signs of wear and tear and address them promptly.
2. Proper Ventilation
Make sure there’s adequate ventilation in your bathroom to avoid moisture buildup. To lower humidity levels, turn on exhaust fans both during and after showers.
3. Seal Grout and Tiles
Regularly inspect and seal the grout and tiles in your shower. This will prevent water from seeping through and causing damage.
4. Use High-Quality Materials
Make a great investment in your shower’s materials, tiles, and fixtures. They may cost more up front, but by lowering the need for repairs over time, they can end up saving you money.
DIY vs. Professional Help
Deciding whether to tackle a shower leak yourself or call a professional can depend on the severity of the issue and your comfort level with DIY projects.
DIY Fixes
Many minor leaks can be fixed with some basic tools and a bit of know-how. Replacing washers, reapplying caulk, or even replacing a showerhead can often be done without professional help.
Pros:
- Cost-effective.
- Immediate action can prevent further damage.
Cons:
- Requires some knowledge and tools.
- Mistakes can lead to bigger problems.
When to Call a Professional
For more serious issues, such as a faulty shower valve or a damaged shower pan, it’s often best to call a professional. They have the expertise and tools to handle more complex repairs.
Pros:
- Ensures the job is done correctly.
- Can handle more complex issues.
Cons:
- More expensive than DIY.
- May take longer to schedule and complete the repair.
Conclusion
Shower leaks are a common problem that, if left unattended, can cause serious issues. You can save time, money, and frustration by being aware of the common causes and knowing how to address them.
Additionally helpful in preventing leaks in the future are high-quality materials and routine maintenance. Dealing with the issue as soon as possible is essential to preventing more damage, regardless of whether you decide to call a professional or attempt the repair yourself.
You can maintain the functionality of your bathroom shower and avoid leaks by using the advice and fixes provided in this article. Recall that minor preventive maintenance can significantly reduce the likelihood of more serious problems later on.